In a recent article on 3D scanning for the automotive industry, we have talked about how 3D scanning can be used in product development, inspection of stamping parts, and supplier quality assurance. Today, we will dig into how it can be applied in the inspection of car bodies and explore more applications.
How 3D Scanning Achieve High Fit-and-Finish Standard for Automotive Industry – Part 2

Quality control always comes as a priority to consider during manufacturing. Vehicles not produced or assembled properly, even a minor error, can put people’s lives at great risk. When it comes to the final assembly, implementing a good inspection system is also essential. It is a way to ensure that the parts can be assembled properly, and connecting features are aligned correctly.
Inspection of Car Body
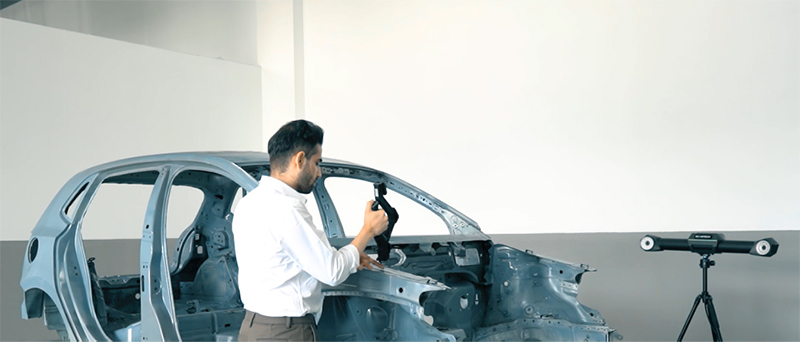
Inspection of car body is essential to ensure the parts can be assembled properly and connecting features can be aligned correctly in further assembly. Automotive assembly lines have hundreds of inspection points, including in-process monitoring, subassembly monitoring, and critical inspection of many points on the assembled bodies in white. Complex features to be inspected include surfaces, holes, slots, nuts, and studs, which vary in materials and colors.
· Dimensional Inspection
Manufacturers face constant challenges in monitoring the whole manufacturing process when using traditional inspection gauges due to their limited efficiency.
Moreover, each complex feature requires a kind of inspection tool, which increases the complexity of the task.
These non-efficient inspection tools fail to meet the strict fit-and-finish standard.
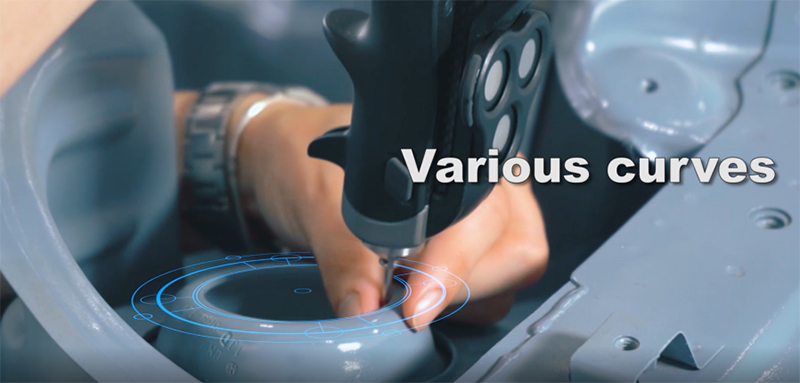
An inspection device that doesn’t require complicated setups and that can handle various inspections tasks can be the answer to the question.
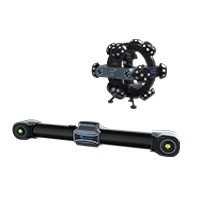
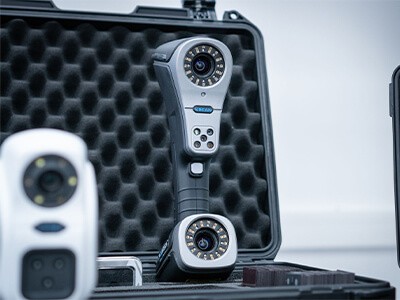
That is where Scantech comes in. We provide high-tech 3D scanners such as composite and handheld 3D scanner KSCAN and optical-tracking 3D scanner TrackScan.
With a simple setup, these portable 3D scanners allow users to change the critical parameters such as measurement parameters and exposure settings flexibly according to the feature and materials of the parts to be inspected.
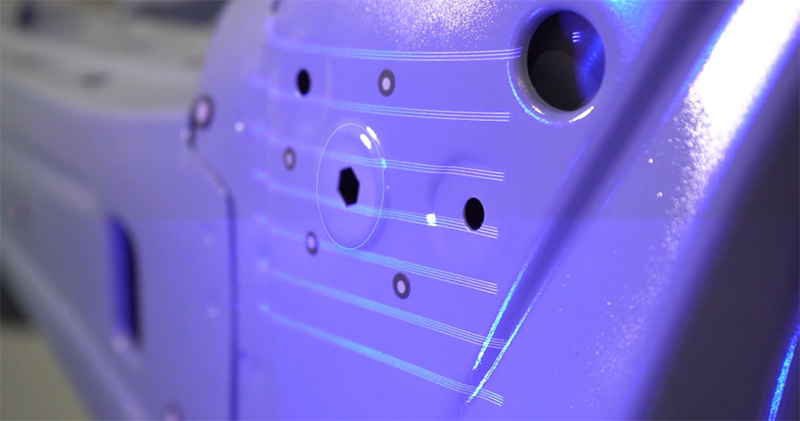
In this way, the manufacturer can scan sub-assembly in real time and get a precise digital twin of the parts.
Complete, precise, and traceable data of the parts manufactured can serve as a basis for finding root causes of potential issues that may arise later.
· How Can Scantech Help?
Scantech’s 3D scanners support on-site and non-contact measurement, which deliver precise measurement data efficiently.
These 3D scanners can be used for off-line, near-line, or in-line measurements.
Powered by an advanced algorithm, our devices use blue lasers to scan and generate point clouds in real time.
By scanning from different angles, users can capture data deep into the gap or along the edge.
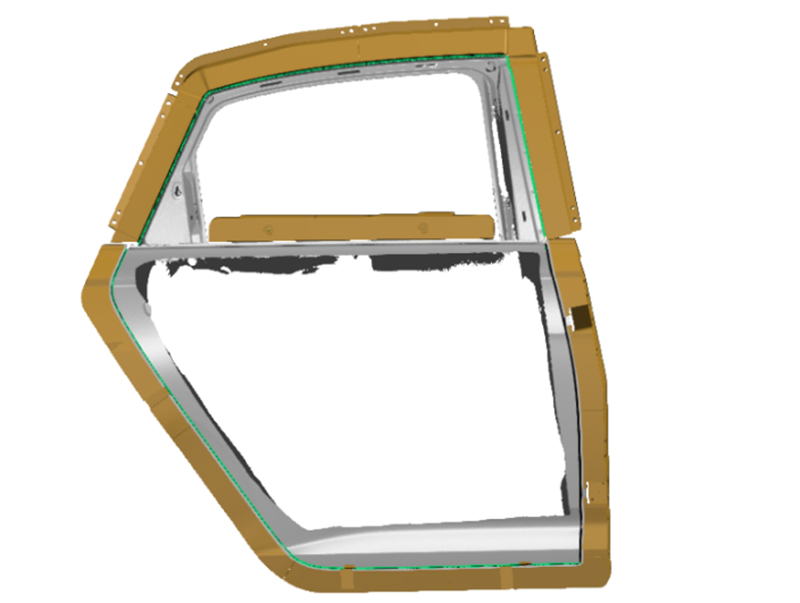
The data of white-in-body and sub-assemblies that have been scanned are stored digitally in the form of point clouds.
With complete data of inspections, the issues that cannot be detected during the manufacturing can also be identified later.

· Advantages
One major advantage of our 3D solutions are the uniform and efficient evaluation method.
It enables manufacturers to access complete data of inspection from different manufacturing steps and systems.
By integrating all the data into one base, automakers have the confidence to monitor the manufacturing efficiently and fitting of the cars’ design.
Trial Production Run
· Automotive Gap & Flush Inspection
Scantech’s 3D scanner also plays an important role in trial production run.
A major automotive manufacturer in China adopted our scanners to record various kinds of data for manufacturing.
According to previous inspections, the parts manufactured do meet the strict dimensional specifications.
However, the engineers identified that there was wind noise when driving the car at a high speed.
When driven at a higher speed, the air outside the vehicle is at a lower pressure as compared to the wind inside the car.
A car that is less aerodynamically designed is more prone to such wind noises. To ensure a smooth and quite ride for further customers, the manufacturer must identify the hidden reasons.
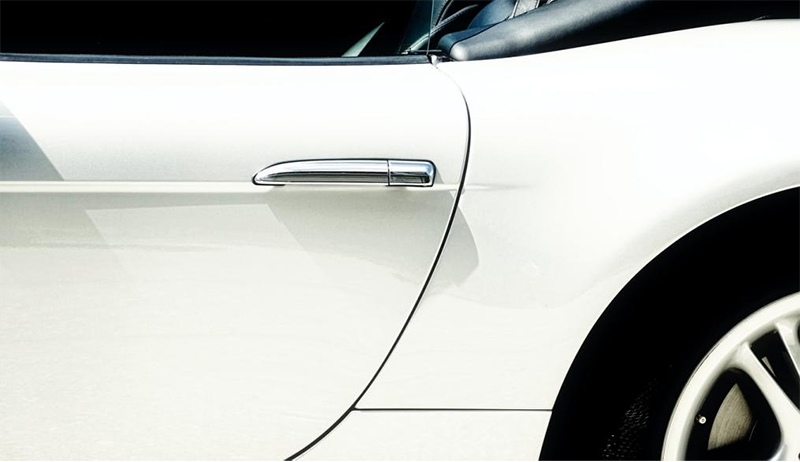
By tracing the data captured by a 3D scanner, this automaker analyzed the dimensions of the door surface and gaps between doors and mounted vehicle bodies.
Technicians conducted on-site inspection with our composite 3D scanner KSCAN-Magic to identify problems.
Scantech’s lightweight 3D scanner is equipped with five working modes including large area scanning and superfine scanning.
It is capable of capturing precise data of surfaces and gaps in car doors.
With this efficient measurement method, and the precise data delivered, engineers verified the possible reasons and were able to locate the problems quickly.
More Applications
· Design of Paint Protection Film
A three-dimensional scanner can be used in the modification and customization of vehicles.
The following case shows how it can be used for producing paint protection film (PPF).
PPF protects a car’s coat and the paint beneath it from scratches, sunlight exposure, oxidation, and other unpleasant factors.
· The Production Process of PPF Comprises the Following Steps:
Obtaining 3D data of the newly launched vehicles
Designing 3D models of PPF based on car data
Transmitting the PPF 3D model to affiliated automobile decoration shops
Produce PPF with the model
Assembly
Paint protection film adheres to organically shaped surfaces, including hard-to-reach areas and dead angles, which are difficult to measure.
The difficulty of measurement is further increased by reflective surfaces. Our technicians scanned the car with handheld, portable 3D scanner SIMSCAN 30.
The 3D data captured were then converted into a 3D model for the design of PPF.

· Scanning Process
Scantech’s technician scanned the entire geometry of the vehicle to obtain its 3D data using blue-laser in fast scanning mode.
Thanks to its compact size and portability, SIMSCAN scanned the narrow workbench area to obtain the overall data of the steering wheel.

· Advantages
SIMSCAN is lightweight and portable, and apt for prolonged use without causing much fatigue.
Its compact size allowed the technician to scan the complex areas of automotive interiors.
The scanning results of narrow spaces were further enhanced thanks to its shorter lens distance and smaller angle of view.
From the picture below, we can find that the data of areas like the steering wheel, are of good quality with details due to the high accuracy of SIMSCAN.

For more information about 3D scanning in the automotive industry, please read:

