How to inspect and maintain a large-scale planet carrier gear?
In this application story, we will show how to inspect and maintain a large-scale planet carrier gear of a wind turbine with a handheld 3D scanner.
Case background
The goal of the project was to scan the planet carrier gear of a wind-generation unit and compare it against the original CAD model, to identify corroded areas. The customer was looking for options to improve the original design and manufacturing of replacement parts. Meanwhile, the customer is a subsidiary of an aero-engine manufacturer, which specializes in manufacturing and maintaining high precision gears.
Challenges of the project
The diameter of a planet carrier gear for a wind turbine is generally bigger than 1 meter and weights more than 1 metric ton. Usually, planet carrier gears are produced in small batches as the types of planet carrier gears vary. When it comes to manufacturing a replacement part, it takes in average 3 months from casting to the moment of applying anti-oxidation treatment.
3D solution provided by Scantech
To shorten its cycle time, the company reached Scantech seeking help inspecting the planet carrier gear.
Figure 1: On-site Measurement
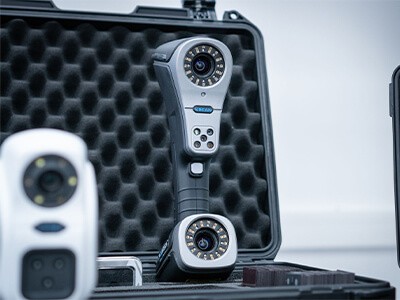
A technician from the maintenance department scanned the planet carrier gear using Scantech’s KSCAN-Magic 3D scanner. Engineers were looking to get every single detail of the part to obtain precise 3D measurements.
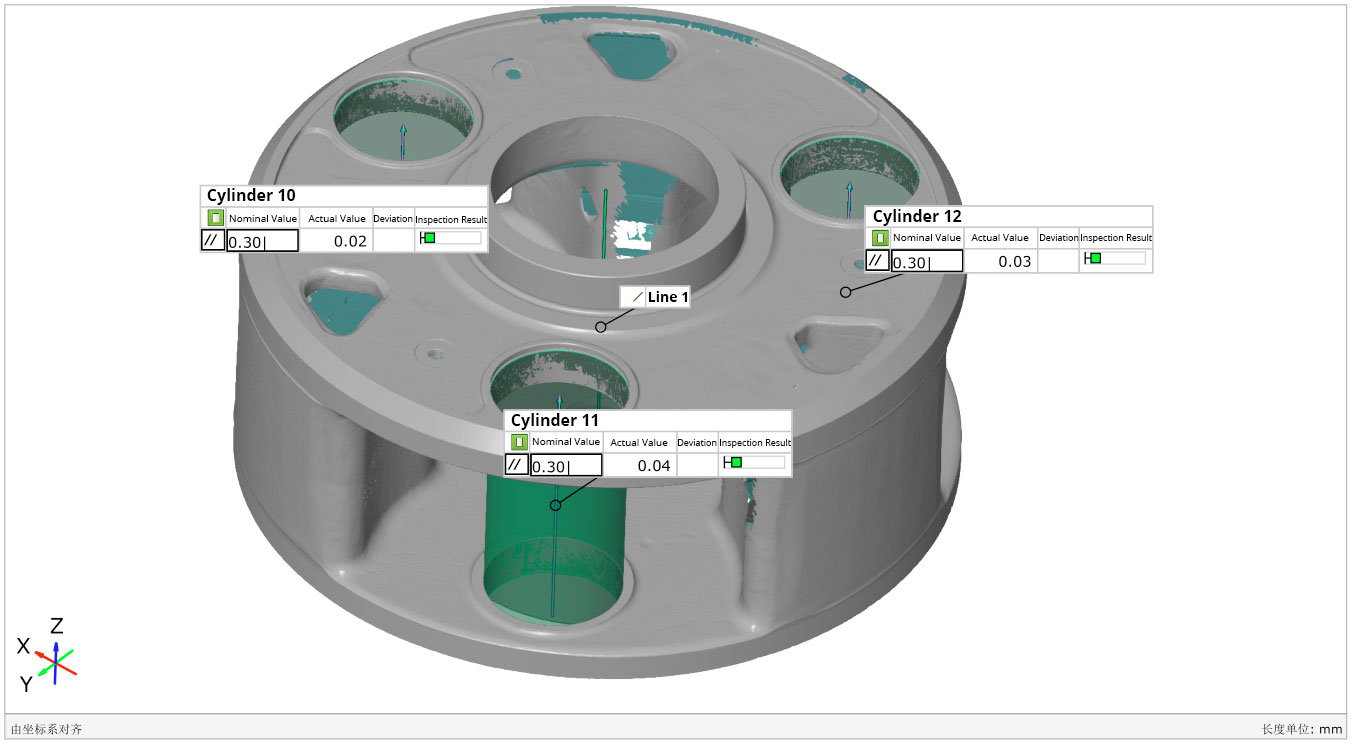
The customer imported a 3D scan in STL format into an inspection software to compare the scan data against the original CAD model when the scanning work was completed. The diameter of holes, distance, position, concentricity, the parallelism of axes of the planet carrier gear were all analyzed. The inspection results are as follows:
Figure 2: Position
Figure 3: Report of Concentricity and Diameter
Figure 4: Report of Parallelism of Axes
After inspection, the analysis results were used to improve the original CAD model. With the ability to capture and modify physical shapes, the customer designed the replacement part that fit perfectly with his existing products.
Finally, the customer was able to manufactured a new part, based on this new CAD drawing, and replaced the corroded one.
The entire process from 3D scanning, inspection, improvement of the original CAD model to manufacturing a new part took about 1 month.
Features of the 3D scanning solution
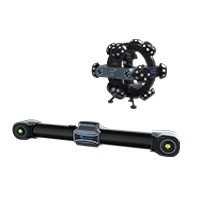
Scantech’s KSCAN-Magic 3D scanner integrates a built-in photogrammetry system and global initiative “infrared +blue laser” scan mode. The photogrammetry system greatly expands the scanning area and improves the volumetric accuracy, and this is perfect for large-scale parts. Benefiting from infrared and blue laser scan modes, the 3D scanner delivers high efficiency with its 650,000 measurements/s and ultra-high details with an accuracy up to 0.020 mm.
It is lightweight and portable so that customers can conduct an on-site inspection without the hassle of having to transport this large planet carrier gear. It can also withstand harsh production environments, including shop floor vibrations.
Feedback from the Customer
Sebastien Kumpfert, Director of Quality Control, expressed his heartfelt admiration: “I was very impressed by the highly-precise detection and rapid scanning of large objects. Such an investment is insignificant when compared with the economic benefits. I hope that our global subsidiaries will be able to use this scanner.”
For more cases about KSCAN-Magic 3D scanner, please visit:
https://www.3d-scantech.com/interference-analysis-of-5g-base-station-pcb-board/
https://www.3d-scantech.com/scantech-3d-digitization-solution-irregular-curtain-wall/


