How We 3D Scanned Stamping Dies and Inserts Faster and Better Than Ever
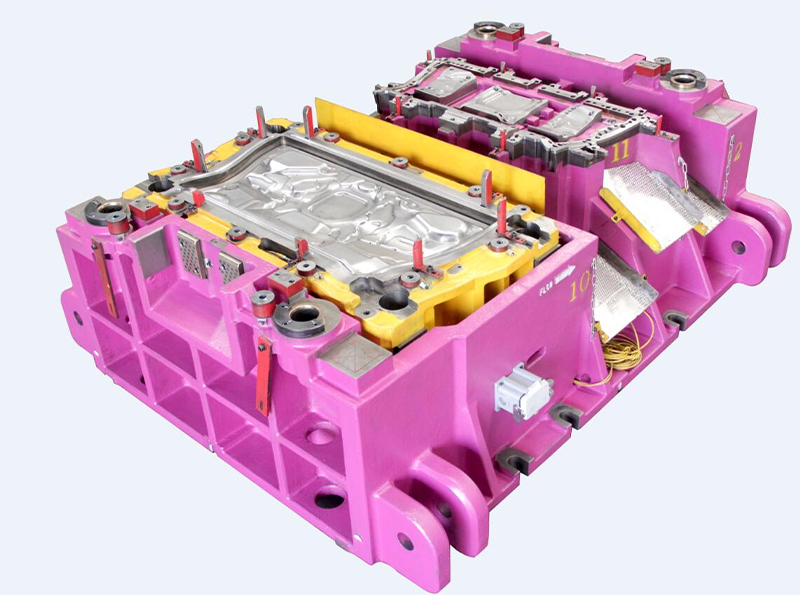
Stamping dies and inserts are essential tools for manufacturers who produce automotive stamping parts such as fenders and hub caps. These dies can be used time and again to produce parts that have uniform sizes and shapes and meet the required standards and specifications. These tools are usually made of metal or other wear-resistant materials, and they need to be measured accurately and quickly to ensure the quality and efficiency of the production process.
However, scanning these large and reflective tools can be challenging, especially have many intricate details and comes in substantial quantities. Traditional measurement methods rely on manual labor, which is time-consuming and error-prone. Common 3D scanners in the market require powder spraying to scan reflective surfaces, which is also not accurate and efficient enough.
In this blog, we will share with you how we used optical 3D measurement system TrackScan-P to measure stamping dies and inserts faster and better.
Die Manufacturer Looks for New Inspection Solution
CPM TOOL Co., Ltd is a leading die shop in China that specializes in producing transfer, tandem and progressive dies for automotive stamping parts. With over 27 years of experience and development, CPM TOOL Co., Ltd has become a world-class tooling supplier that works with many global companies and OEMs.
The customers are looking for a solution to scan large stamping dies that can reach up to 5 meters in length. The scanning results must be highly accurate to guarantee the quality of the dies and the final products. The measurements must also be quick to shorten the inspection time and enhance the production efficiency. In addition, hundreds of inserts have to be measured, which makes the task more complex and urgent. A fast, accurate, and flexible scanning solution is therefore necessary.
Disadvantages of Common Measurement Method
The customer faced several challenges in using a common 3D scanner for large-scale die measurement.
First, the scanning process was slow and cumbersome. The insert had to be sprayed with powder before scanning. What’s more, it requires cleaning after scanning, which slows the whole process. Besides that, as the large die required many times of alignment of scanned data, the scanning speed of the instrument dropped significantly after more than 120 times of alignment.
Second, the scanning accuracy was low, especially for the hole positions on the sheet metal, which needed multiple-angle trials to obtain reliable results.
Third, the after-scanning workflow was complex, as the multiple scans for different dies had to be split and saved manually, which was time-consuming. These issues prevented the customer from achieving their daily target of 300 pieces.
The 3D Solution We Provided
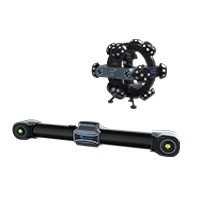
The customer used our optical 3D measurement system TrackScan-P and 3D software T-Viewer to scan the customer’s dies and inserts.
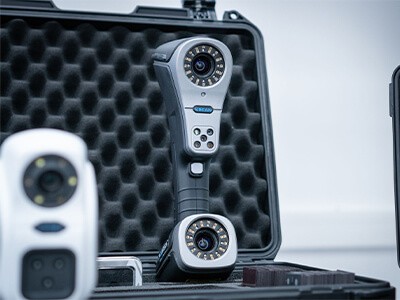
TrackScan-P is a state-of-the-art optical 3D measurement system that can scan large, glossy, and complex parts with high accuracy and efficiency. Unlike conventional 3D scanners that require reference targets to be attached to the parts, TrackScan-P uses intelligent optical tracking measurement and high-resolution cameras to capture the 3D data without any contact.
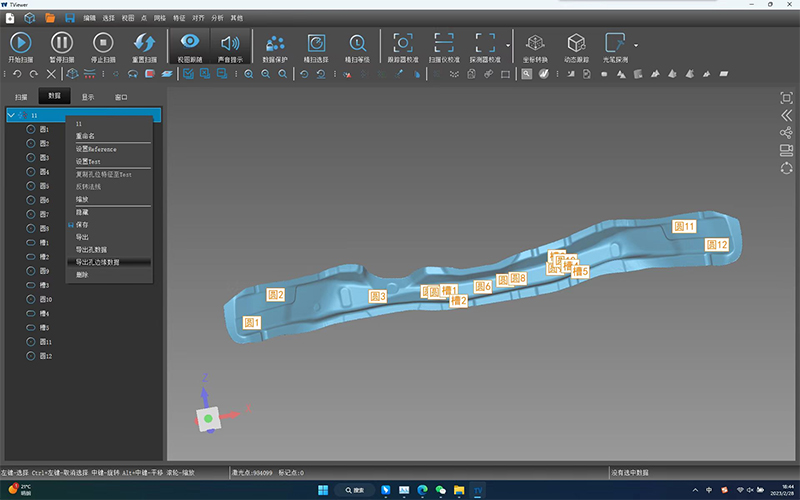
TrackScan-P can also scan multiple parts simultaneously and save their 3D data individually, making it ideal for batch inspection and comparison. Moreover, TrackScan-P can be paired with additional modules to enable extendable applications, such as inspecting circles, grooves, and machined holes of stamping parts with an auxiliary light module. TrackScan-P is a versatile and powerful optical 3D measurement system that can meet the diverse needs of customers.
Highlights of Scantech’s 3D Solution
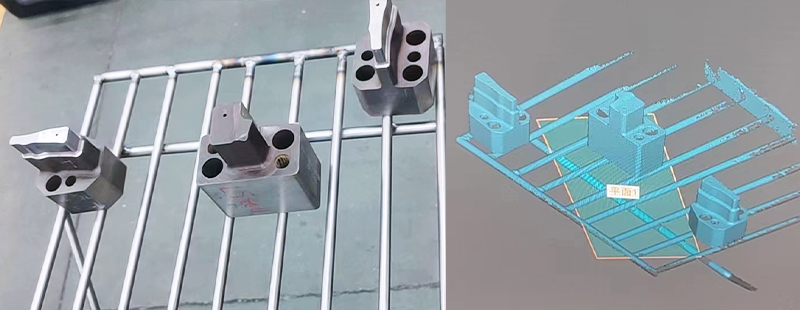
The operator used TrackScan-P to capture the shape and features of the die inserts, such as the 3D data of profile, structural surface, contour, pinholes, screw holes, and so on. By performing edge inspection, the worker measures the hole positions with accuracy and speed. With the T-Viewer 3D software that come with it, they compared the scanned data with the design specifications and checked for any deviations or errors. The optical 3D measurement system TrackScan-P also ensured that the perpendicularity of holes and flatness of the surface met the precision requirements.
As it had a large measurement volume, it enabled the operator to scan multiple items at once and save them separately without the need for manual intervention or complex operations. Using 3D scanning technology, it achieved a high level of efficiency by measuring and inspecting 300 inserts per day.
The optical 3D measurement system is highly effective for scanning large-scale parts, and it captured 3D data of one of theses dies (2.5 meters) within 15 minutes. Its target alignment function is also used for flipping the part to continue scanning, which reduces the need for adjustments of scanned data and enhances the inspection efficiency.
It also generated a visually intuitive color map, highlighting deviations with clarity for detailed analysis and facilitating precise adjustments in subsequent stages of the process.
By using this system, we ensured that the dies and inserts met production requirements and shortened the time to market. The scanning results and analysis showed that our solution met the customer’s demand.
The Conclusion
The scanning project was a success, as we delivered a high-accuracy and fast measurement solution for the customer’s large-scale dies and inserts. Our optical 3D measurement system and multi-part scanning functions proved to be superior to the common 3D scanner that the customer used, in terms of scanning efficiency, quality, and convenience.

