Persistent Improvement in 3D Inspection of Large-sized Object
For various industries such as petroleum, chemical engineering, pharmaceutical, metallurgy, and thermal power, the complete inspection of large-sized machinery is considered a significant issue. During the use of all kinds of equipment, breakdown is unavoidable. For the large-scale industrial equipment, the situation is more difficult because there are no stable and sufficient substitute products. Once breakdown occurs, it will not only take a high cost to purchase components but also need to wait for a long delivery cycle, which seriously affects the progress of work and production.
A chemical machinery company, mainly engaged in the overhaul of industrial equipment such as centrifugal compressors, blowers, draught fans, industrial steam turbines, and pumps. To ensure smooth production, this equipment is supposed to undergo quality inspection at regular intervals. If wear or damage is found, repair or replacement will be required.
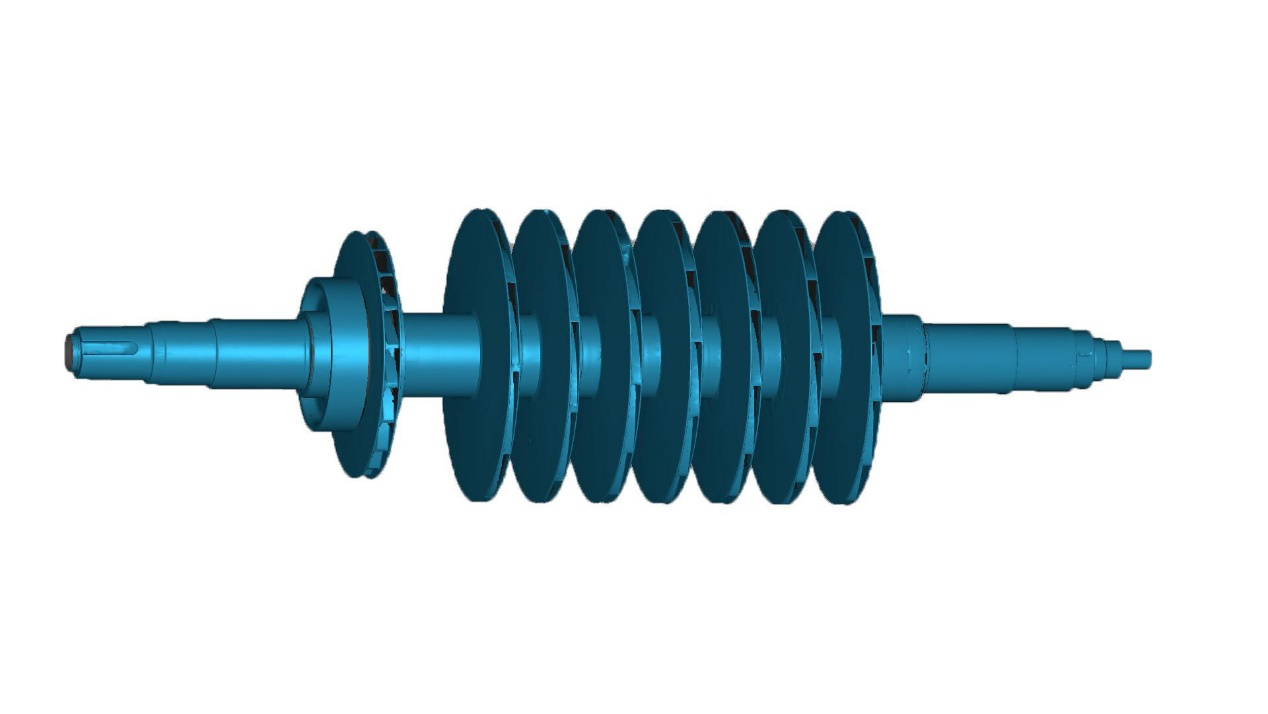
The customer needs to overhaul a compressor and collect the complete 3D data of the compressor rotor as a guide for maintenance.
The traditional detection method is difficult to measure complicated positions like grooves and curved surfaces, which results in low accuracy and efficiency. The handheld 3D scanner can quickly obtain full 3D data of the workpieces, and the modeling and processing on this basis is conducive to shorten the production cycle of parts and complete the maintenance tasks efficiently.
Difficulties of measuring compressor rotor
The main shaft of the compressor rotor has a relatively large volume, 1.8m in length, 0.96m in diameter, and with a weight of about 300kg. Therefore, the scanning area and speed of the 3D scanner are required to be wide and fast, which can directly affect work efficiency.
There are multiple impellers distributed on the main shaft of the rotor. The distance between the impellers is narrow, and the impellers have deep flow channels and many curved surfaces, so it requires the 3D scanner to have a larger depth of field and high accuracy. It is difficult for ordinary 3D scanners to achieve this comprehensive scanning.
The main shaft of the rotor is made of steel, with a shiny machined surface, so the scanner is required to work normally under reflective conditions.
ScanTech 3D solution
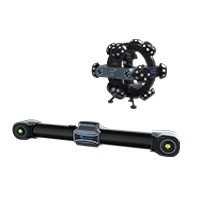
Our AXE 3D scanner is customized for 3D detection of medium to large-sized objects. For traditional 3D scanners, they need to work with a photogrammetry system device to finish the detection. However, with a built-in photogrammetric system, AXE can quickly obtain 3D data of large workpieces, realizing the whole 3D scanning only by itself, greatly reducing the cost of detection.
AXE 3D scanner adopts advanced optical measurement technology, achieving the maximum scanning area 860 mm × 600 mm, and the measurement speed 2,000,000 measurements/s. Even if the workpiece is exceptionally large, it can also complete the detection efficiently and promptly.
For the narrow space between the impellers and inaccessible positions, we can choose deep hole scanning work mode, with a depth of field of 500 mm, resolution of 0.025 mm, and an accuracy of 0.020 mm, which can accurately capture the 3D data of complex and shiny surface.
Step 1. Photogrammetry system
By using photogrammetry system, it can obtain more accurate data of positioning markers and determine the 3D coordinates of the object in space, such as the position, shape, and size, so as to obtain the scan data with better precision.
Step 2. 3D scanning
According to the scanning requirement, we can switch the working mode to high-speed scanning or deep hole scanning, to accurately inspect key positions, realizing the non-contact measurement and simple operation.
Step 3. STL data collection
Import the scanned data into professional 3D software ScanViewer for post-processing and obtain a 3D model for later maintenance. The entire data scanning and processing can be completed within half an hour.
AXE 3D scanner greatly optimizes the workflows when inspecting large-scale workpieces, ensuring the products’ work efficiency and life cycle.
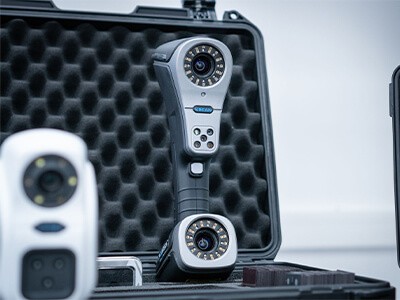
Meanwhile, ScanTech’s KSCAN composite 3D scanner adopts a built-in photogrammetry system and opens up the first introduction of infrared laser technology, which makes large-scale project measurements much easier.
The KSCAN 3D scanner delivered high performance on inspection of a wind turbine hub with a volume of 7m*5m*6m, which is an insurmountable challenge
For more case about large project measurement, please read below:
Accurate Measurement of Tesla Empowered by KSCAN 3D Scanner
Large Automotive Mold Measuring Only by One 3D Scanner?


