KSCAN-Magic Composite 3D Scanner
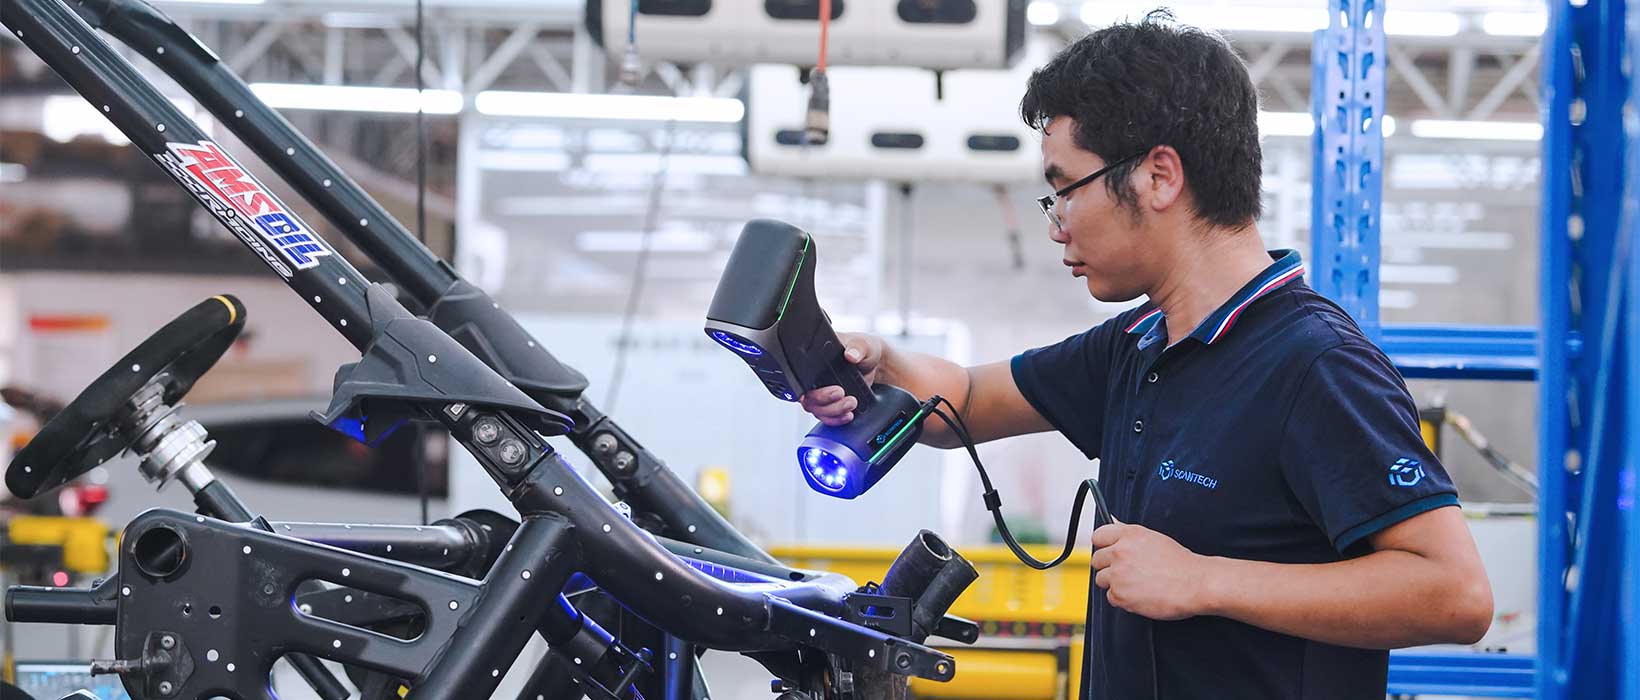
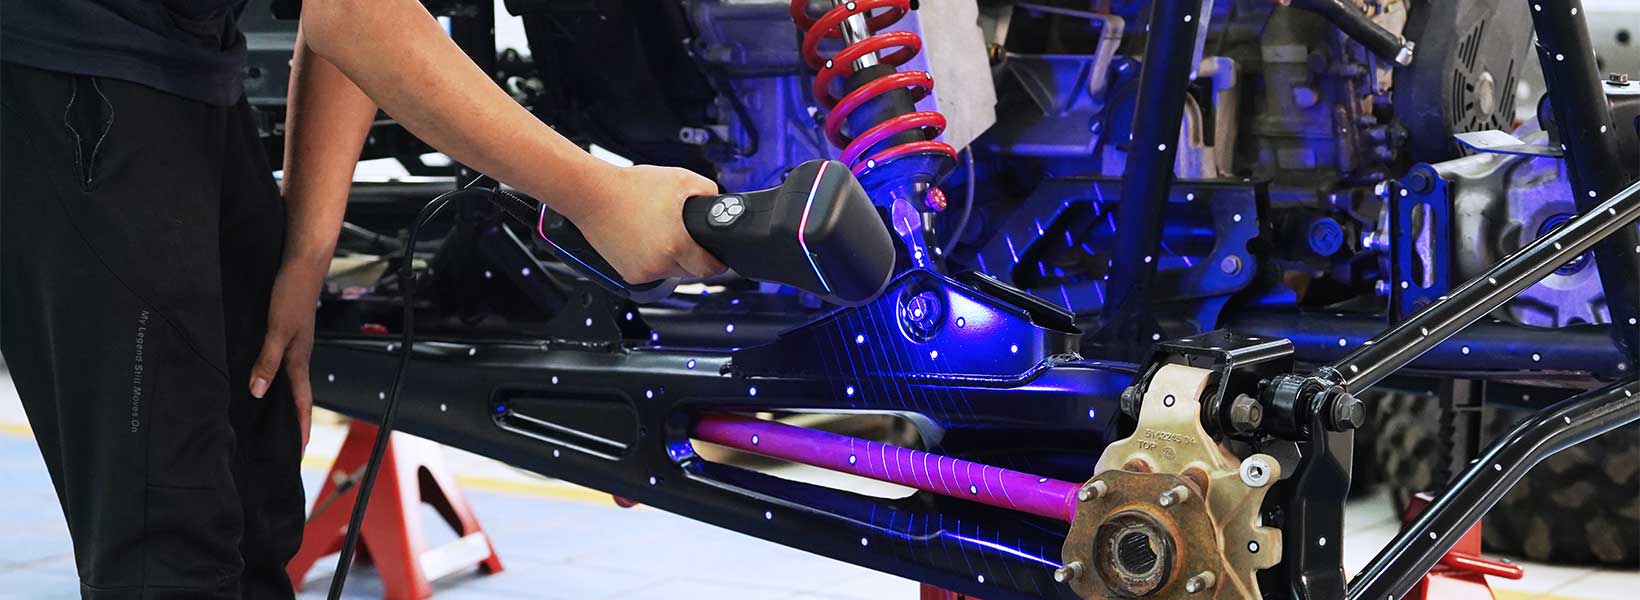
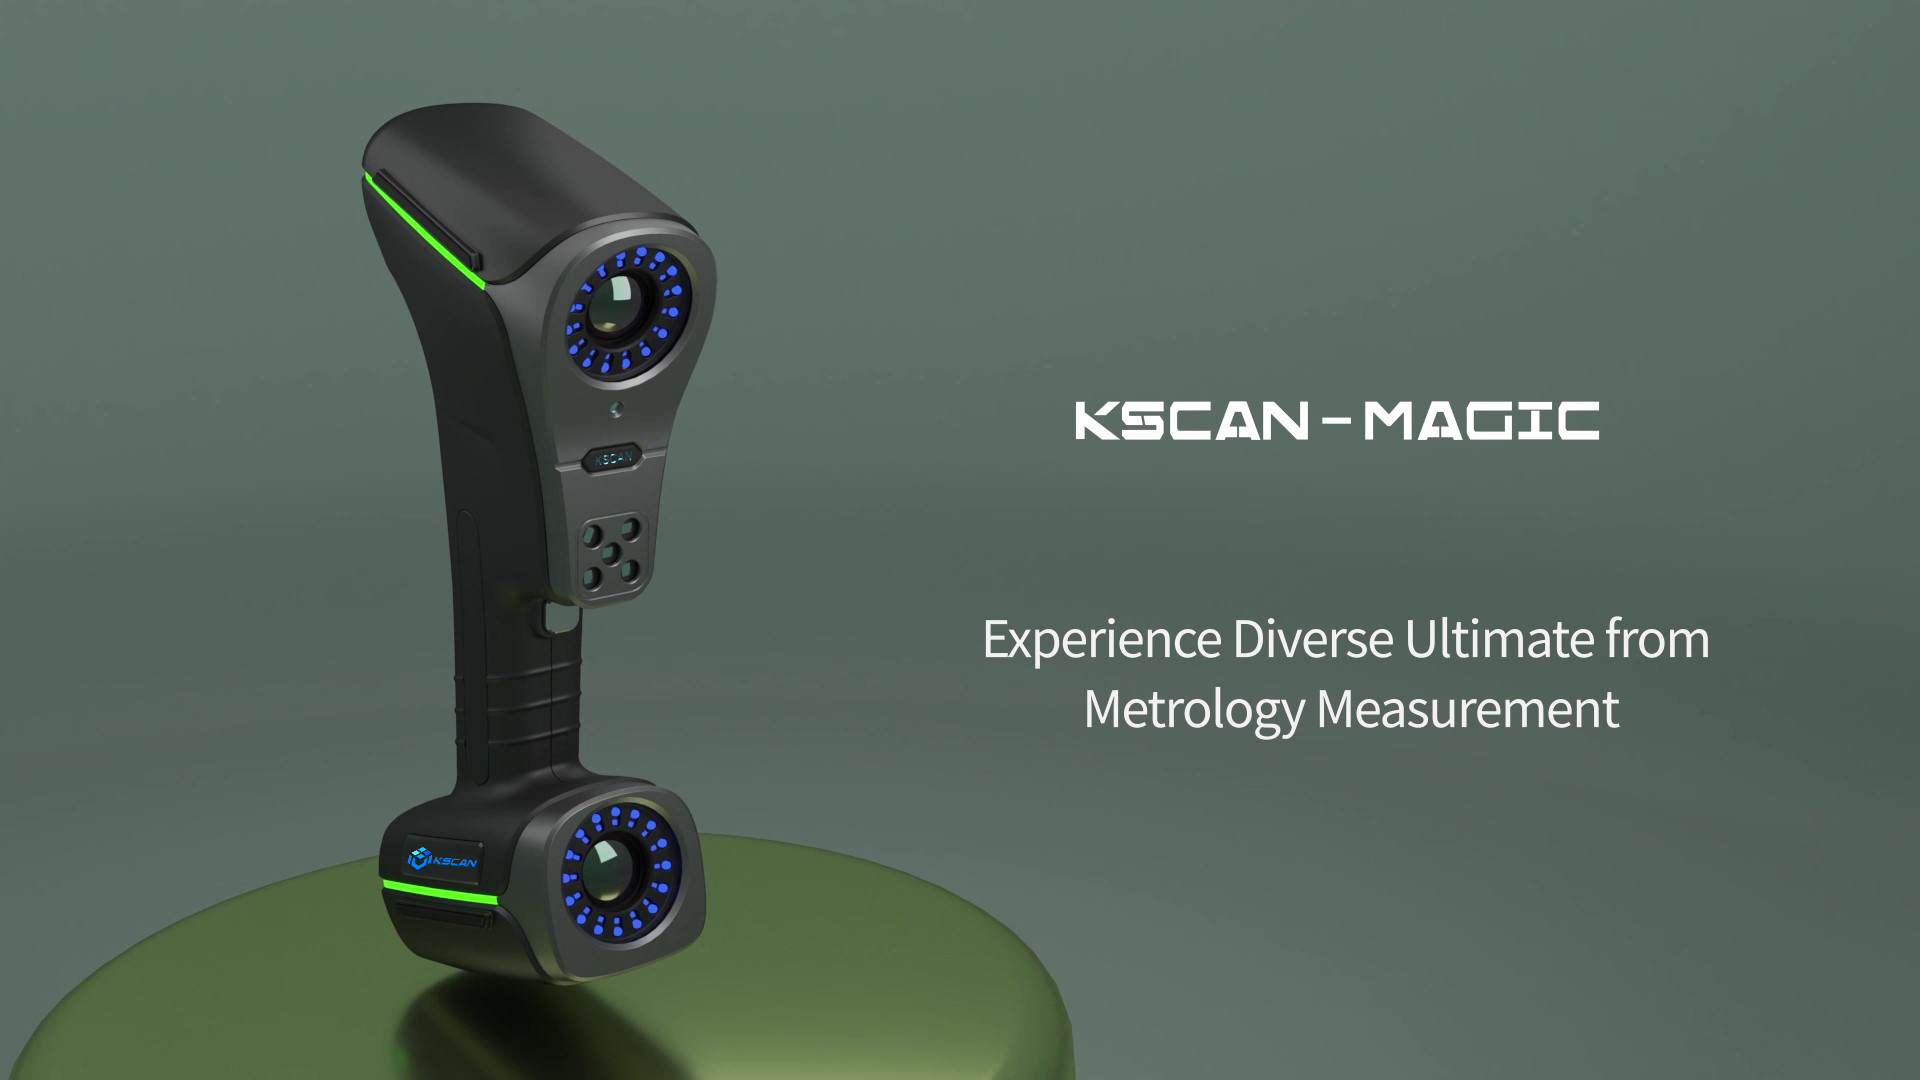
KSCAN-Magic Upgrade Series, the cutting-edging composite 3D scanner that integrates infrared and blue lasers in one versatile instrument, caters to diverse applications. This composite 3D scanner boasts five standard operating modes: large-area scanning with parallel infrared lasers, ultra-fast scanning with blue laser crosses, hyperfine scanning with blue parallel lasers, deep-hole scanning with a single blue laser, and a built-in large-area photogrammetry system.
Our innovative 3D scanner series incorporates a multi-spectrum 3D scanning and calibration technique, combining exceptional efficiency and uncompromising accuracy. It features fast scanning speed, high accuracy, great detail capturing, large scanning area, and extended depth-of-field that greatly optimize the 3D measurement workflows and accelerate the product time-to-market.

Five Operating Modes

Built-in Large-area Photogrammetry

Multi-spectrum 3D Scanning

Scanning Rate up to 4,150,000 Measurements/s

Accuracy up to 0.020 mm

Depth of Field of 925 mm
Five Modes at Your Fingertips
Metrology-grade NDT Measuring
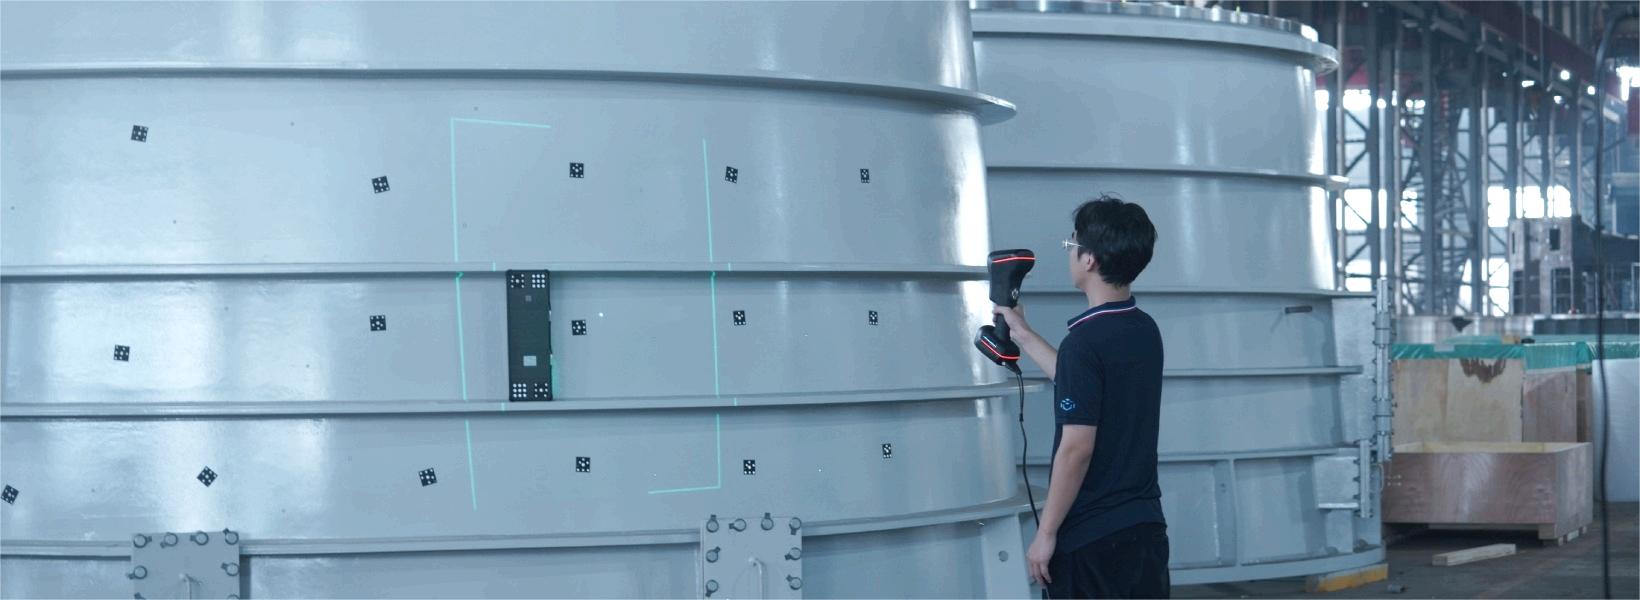
Its scanning accuracy is of up to 0.020 mm, and its volumetric accuracy is 0.015 mm + 0.012 mm/m when paired with MSCAN-L15 photogrammetry system, which delivers ultra-high precision NDT for various industries.
Flexible Uses
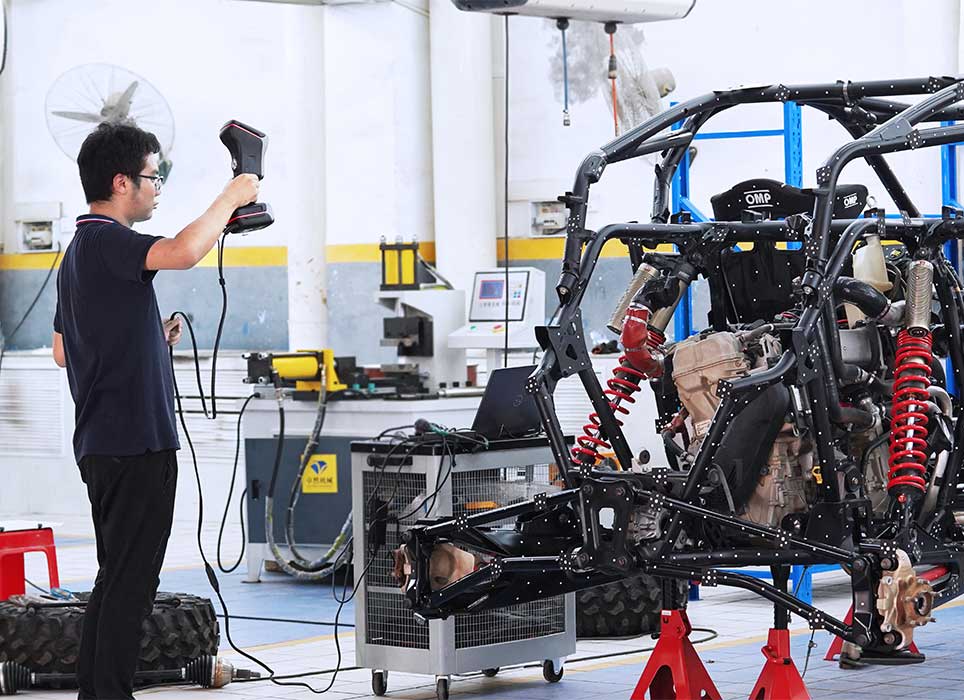
KSCAN-Magic is lightweight and portable and can conduct 3D measurements anywhere and anytime regardless of vibrations, temperature, and humidity. Moreover, KSCAN-Magic is capable of 3D scanning various surfaces to capture precise 3D data, and it performs well even in 3D scanning reflective and black surfaces.
Massive Functions

Intelligent edge inspection
It boasts an optional module for intelligent edge inspection. With high-precision gray value measurement, users can inspect closed features precisely and obtain repeatable measurement results.

Contact probing
It can be paired with a portable CMM K-Probe to probe inaccessible areas and complex parts, offering comprehensive and precise 3D solutions.

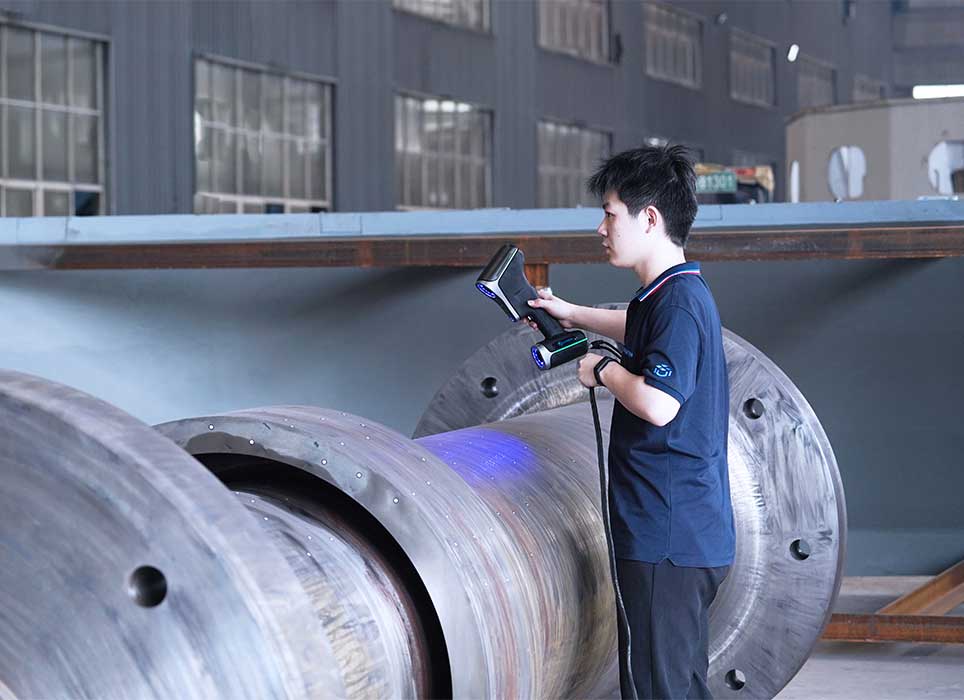
Pipe measurement
Thanks to KSCAN-Magic’s various operating modes, it is capable of 3D scanning pipes of different sizes and materials. When combined with optional software, it can conduct reverse engineering and inspection for pipes.
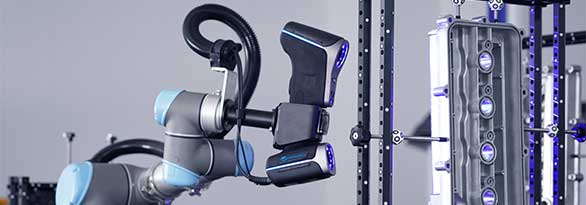
Automated 3D system
It can be paired with Scantech’s automated 3D inspection system, enabling effortless deployment and intelligent control to conduct automated batch inspections.
Technical Specifications
| Type | KSCAN-Magic | KSCAN-MagicⅡ | |
| Scan mode | Ultra-fast scanning | 11 blue laser crosses | 17 blue laser crosses |
| Hyperfine scanning | 7 blue parallel laser lines | ||
| Large area scanning | 11 parallel infrared laser lines | ||
| Deep hole scanning | 1 extra blue laser line | ||
| Accuracy(1) | Up to 0.020 mm (0.0008 in) | ||
| Scanning rate up to | 2,700,000 measurements/s | 4,150,000 measurements/s | |
| Scanning area up to | 1440 mm × 860 mm (57.0 in × 33.9 in) | ||
| Laser class | CLASS Ⅱ (eye-safe) | ||
| Resolution up to | 0.010 mm (0.0004 in) | ||
| Photogrammetry system | Scanning area | 3760 mm × 3150mm (148.0 in × 124.0 in) | |
| Depth of field | 2500 mm (98.4 in) | ||
| Volume accuracy(2) | Work alone | 0.015 mm + 0.030 mm/m (0.0006 in + 0.00036 in/ft) | |
| Work with 1m reference bar | 0.015 mm + 0.020 mm/m (0.0006 in + 0.00024 in/ft) | ||
| Work with MSCAN-L15 | 0.015 mm + 0.012 mm/m (0.0006 in + 0.00014 in/ft) | ||
| Stand-off distance | 300 mm (11.8 in) | ||
| Depth of field | 925 mm (36.4 in) | ||
| Output formats | .stl, .obj, .ply, .asc, .igs, .txt, .mk2, .umk and etc. | ||
| Operating temperature range | -10℃-40℃ (14℉-104℉) | ||
| Interface mode | USB 3.0 | ||
| Patents | CN204329903U, CN104501740B, CN104165600B, CN204988183U, CN204854633U, CN204944431U, CN204902788U, CN105068384B, CN105049664B, CN204902784U, CN204963812U, CN204902785U, CN204902790U, CN106403845B, CN209197685U, CN209263911U, CN106500627B, CN106500628B, CN206132003U, CN206905709U, CN107202554B, CN209310754U, CN209485295U, CN209485271U, CN305446920S, CN209991946U, US10309770B2, KR102096806B1,KR102209255B1, US10914576B2 | ||
|
(1) ISO 17025 accredited: Based on VDI/VDE 2634 Part 3 standard and JJF 1951 specification, probing error (size) (PS) performance is evaluated. (2) ISO 17025 accredited: Based on VDI/VDE 2634 Part3 standard and JJF 1951 specification, sphere spacing error (SD) performance is evaluated. |
|||
Ready To Get Started?
Rebuild our 3D world with the most advanced 3D scanning system available.
Request A DemoWhat’s the best 3D solution for your business?
Boost your business with 3D digitization technology.
Ask An Expert BrochureHigh-tech 3D Scanners
Scantech’s handheld 3D scanners power the 3D scanning services. These instruments can obtain precise point clouds, which can be triangulated into a polygon mesh or STL file.
Due to their high precision, versatility, and portability, they can fulfill various metrology-grade 3D scanning projects.


