3D Scanning Improves Efficiency on Mold Building
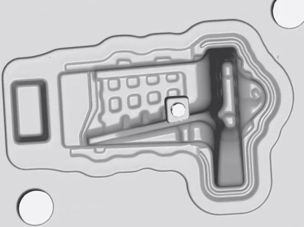
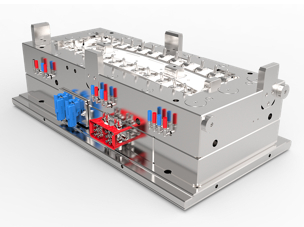
Mold is a cavity in which a fluid or molten substance is shaped into the desired product, which is commonly used in industrial manufacturing. Molds are made of various materials, such as sand, hardened steel, and plaster, depending on the application. The quality of molds directly affects the quality of products made in molds.
With the precision requirements for mold manufacturing rising, it is vital for mold builders to ensure the molds created are high-quality and secure their stability. This is where portable and highly-precise 3D scanners come in to capture full-filed data of molds to identify their deviations accurately and streamline inspection and measurement workflows. High-tech 3D scanning can be used in mold manufacturing, mode inspection, mold trial, and more.
Scantech plays an increasingly important role in mold manufacturing due to its advanced 3D measurement technologies. Our 3D scanners carry significant weight in mold repair, 3D inspection, and design thanks to their high accuracy, fast speed, and high portability.
Guarantee the Quality with 3D Metrology Solutions
With the help of 3D scanners, manufacturers can examine molds made in different materials with various characteristics. With optical and non-contact 3D laser scanning, lost foam molds, wood modes, and sand core modes can be inspected to ensure their high quality. 3D scanning enables operators and engineers to measure parts regularly and efficiently, and compare the 3D model against the original CAD to identify GD&T.

Lost Foam Mold

Wood Mold

Sand Core Mold

Plastic Mold

Forging Die

Casting Die

Stamping Die

Injection Mold
Precise and Non-contact Measurement for Mold Industry
Scantech’s composite 3D scanner KSCAN, handheld, and compact 3D laser SIMSCAN, global AXE 3D scanner can quickly acquire precise 3D data of whole geometry of molds and generate color maps by comparing 3D data against original drawings. With an accuracy of up to 0.02 mm, these accurate measurement data build a solid foundation for mold design, blank inspection, trial, repair, and archiving.

Inspection of Machining Allowance
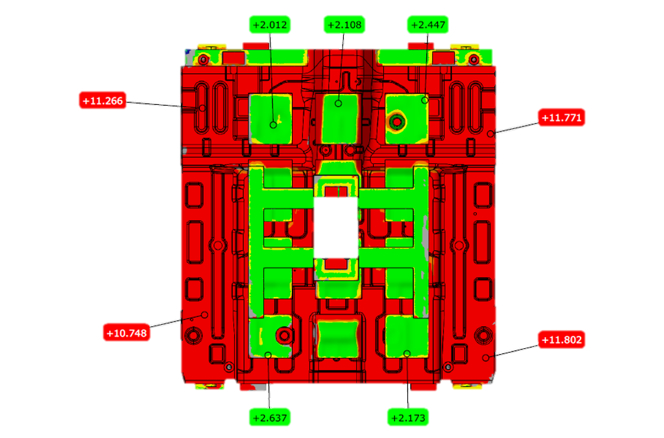
Engineers add extra material, known as machining allowance, to molds and dies to ensure their sizes, accuracy, and surface finishes meet technical specifications. By doing so, defective product rates can be substantially reduced. Scantech’s 3D laser scanners can measure the rough mode and identify if there are enough machining allowances for the parts to be machined. This way, the solution helps manufacturers to precisely monitor the manufacturing process to ensure products are made with minimum material to reduce costs and increase efficiency.
Learn more >
Optimization of Machining
There is a slight difference between the machining allowances of the mold manufactured and the nominal one. The CNC machine fails to remove metal layers thinner than the preset parameter, which results in wasted processing time and increased machining costs. By obtaining the actual machining allowance of blanks, manufacturers can set precise parameters for removing machining allowance. It helps manufacturers increase production qualification rate and shorten mold manufacturing cycles.
Learn more >
Post-machined Mold Inspection
The molds precisely-machined may differ from the theoretical model due to the inferences of real-life manufacturing environment. When the molds or dies are manufactured, attributes such as mold width, height, depth need to be measured. Non-contact 3D laser scanners can measure parts with complex features such as narrow areas, slots, curvature and concave surfaces. Full-field and accurate data of parts can help to verify the quality of parts and serves as data basis for the subsequent mold trial.
Learn more >
Mold Trial
Mold trail is the process by which a new mold is optimized so that it can produce qualified products. Molds need to be corrected when there is a large gap between upper mode and lower mode. Mold builders analyse and adjust the mold iteratively to meet the technical requirements and be used for making qualified products. Using 3D scanners, engineers can accurately identify the value of gap so that they can adjust the gap accordingly. Thanks to their high-speed scanning capabilities and high accuracy, 3D scanners can aid in identifying unqualified areas by capturing full-field data.
Learn more >
Mold Repair
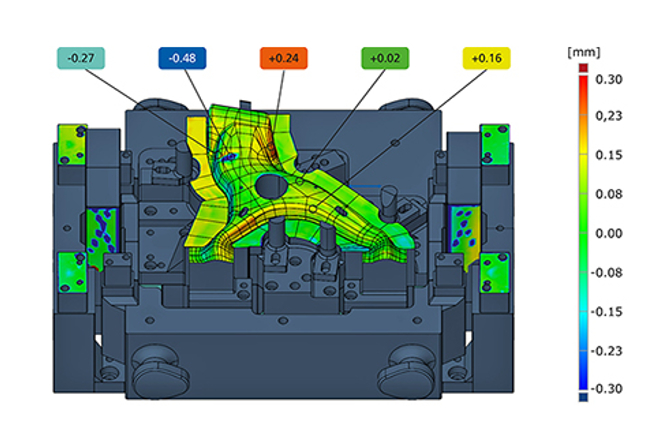
After being used in high-volume manufacturing, molds are subject to wear which leads to increasing defect rates of parts manufactured. Portable 3D laser scanners can be used to measure the molds and compare them to original 3D modes. The deviation and worn areas can be precisely identified with quantified values. Therefore, designers and manufacturers can monitor the molds in time and take responding corrective actions to repair molds, which helps to increase efficiency and optimize workflows.
Learn more >
Mold Archiving
A digital archive is a method that produces detailed geometric representations of real-world items. The practice of digitally backing up items is becoming more and more popular. By 3D scanning, the qualified wood modes, casting dies, and forging dies can be digitized as reliable and comprehensive basis for mold repair. The mold corrected can also be used to update the design drawing. 3D scanning helps to archive molds and dies for further use.
Learn more >Traditional Gauge VS Scantech’s 3D Scanner
Traditional Inspection Gauge
● Tedious workflows
● Limited data collection
● Inefficient measurement
● Large footprint required to store tools
Scantech’s Handheld 3D Scanner
● Precise measurement
● Ultra-fast measurement rate
● Full-field data collection
● Immune to plant floor vibrations
● Intuitive reports
● Compact size and high portability


